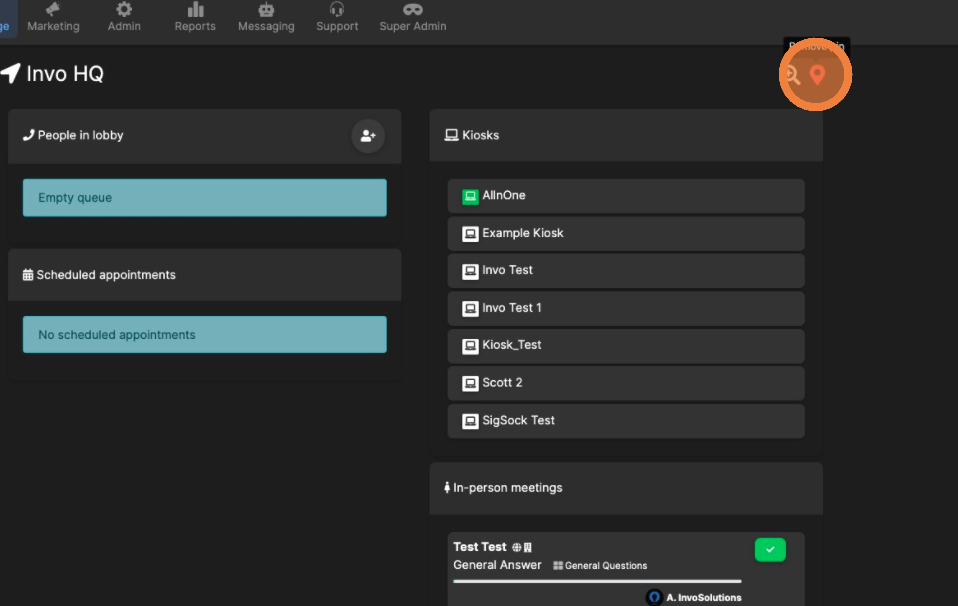
The Kiosk software installer is located under Admin > Manage Settings > Kiosks. On the right hand side, you will find the Kiosk Toolset.
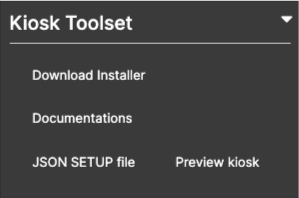
Here, you can download the installer, as well as Documentation, upload the JSON file, or Preview the kiosk which will assist you with styling during the customization step. Once installation is complete, you can be begin setup:
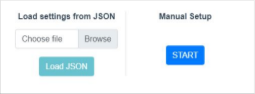 - Click Start for Manual Setup
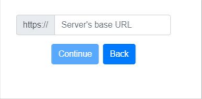 - This is your environment's URL. Either your Staging, or your Production.
You will need to provide administrator credentials to allow the software access to the environment.
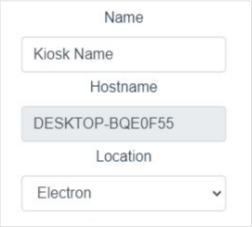
Here you will need to name your Kiosk to identify it in the system. The hostname will be prepopulated with the device's PC name. The location will need to be selected based on which branch the Kiosk will be located in.
For security reasons, a kiosk would be banned from the system if it is not connected to a network registered for its associated location. During the installation of the kiosk,the program will pull the public IP of the network and check if it is already in the array of registered IP addresses of the chosen location. If the pulled IP is not in the array, the program will warn and give us the ability to register the unregistered IP, if needed.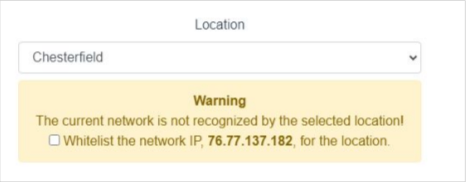
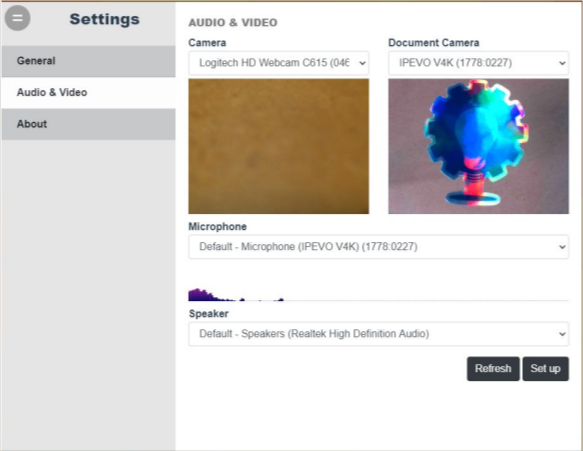
Next, configure the Kiosks devices:
Setup should be complete and ready to test.
Branding & Customization
Kiosk Customization can be found under Admin > Manage Settings > Kiosks> Kiosk Customization. Under Admin > Manage Settings > Kiosks, you can preview the Kiosk without having to launch the software by selecting Preview Kiosk under the Kiosk toolset. There are two areas that need customized:
- Images
- QA Buttons
Images
In call background image - This image will be sitting behind the call window for the Kiosk. It is NOT a virtual background.
Create call background image - This image will be displayed when your clients are making their selection for the queue. 
Your Queue Answer buttons (the three displayed above) can have an image or your logo on them if you choose. However, this has to be done under the Queue Answers menu, under Admin > Queues. Click on an Answer, then click Image Icon. NOTE: If you have multiple channels selected for the Answer, this image will show up under those selections as well.
QA Buttons
Position of the Create a Call button - You can modify where the Create a Call button will be located. The Create a Call button will initiate the process, taking your clients to the Queue Button selection screen.
Create call template - you can select to either use the QA buttons, or the user info form. This is the same form that is on your client facing web portal.
Show more QA buttons - this will enable another button that will display as a plus sign that will extend out to other Queue options.
Max number of QA buttons - this is the number of QA buttons that will display on the Kiosk at one time.
QA buttons have QA name - you can chose to disable the text on the Queue buttons.
QA button size - you can customize the size of the buttons.
QA button arrangement -
Bottom - buttons are curved and at the bottom of the screen.
Center - buttons are in the center in a straight line.
Horizontal - buttons are at the bottom in a straight line.
QA button background color - if you chose to have a background image, we suggest this option be set to "none" in order to correctly display a png image. If you do not have an image, you can type the name of whatever color you choose into the option.
QA button text color - if you chose to display the text/names of the QA buttons, you can customize the color for it.
(NOTE: you also have the ability to change the background color and text color of the language option in the top left corner.
Place a client into the Lobby:
Navigate to the Concierge Tab

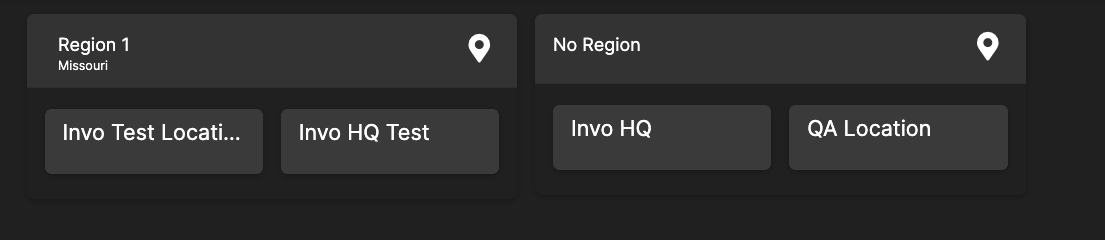
Navigate to your choice location and click on it
Under your location choice, click "Add a Guest"
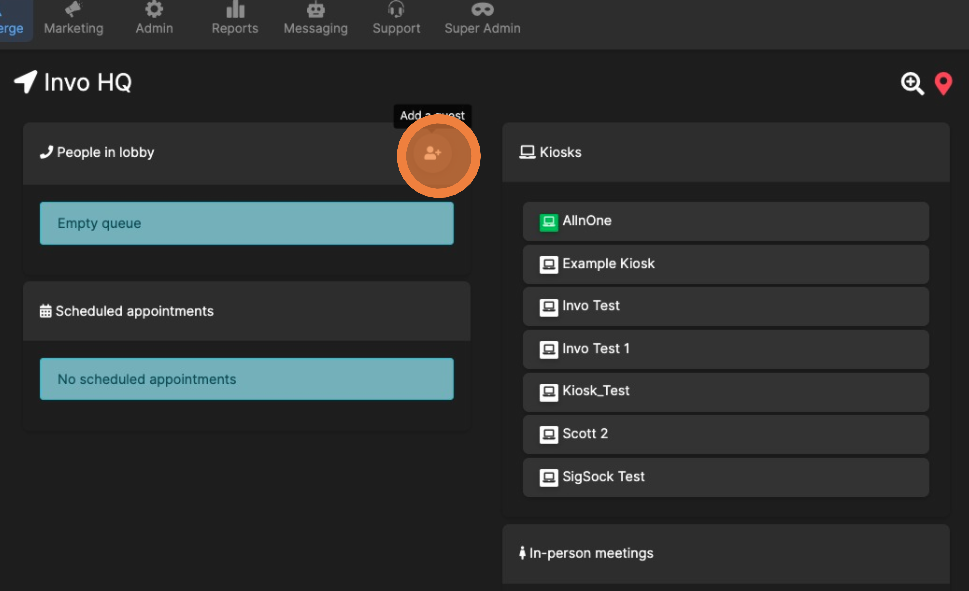
Enter your client's basic information, and click Submit
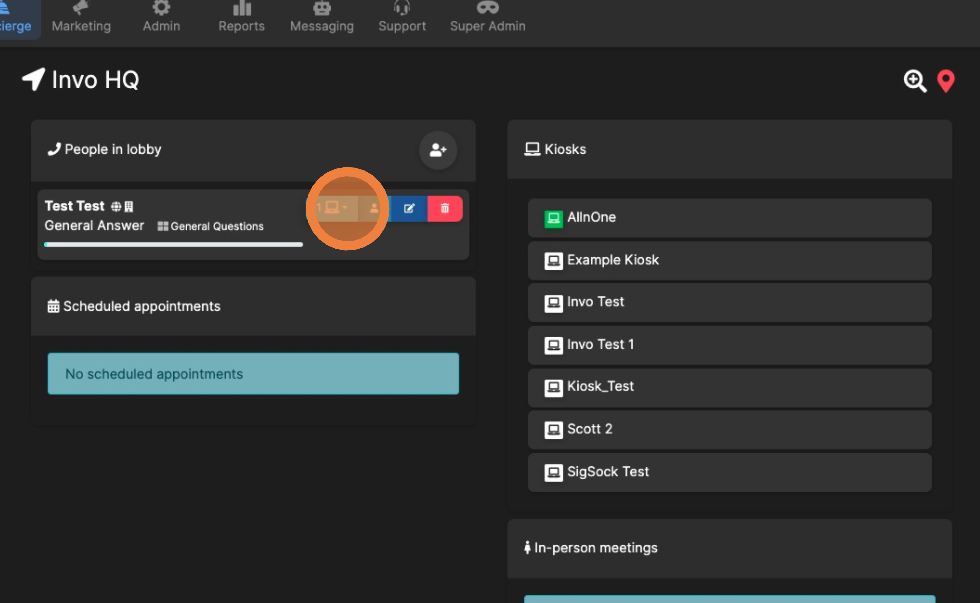
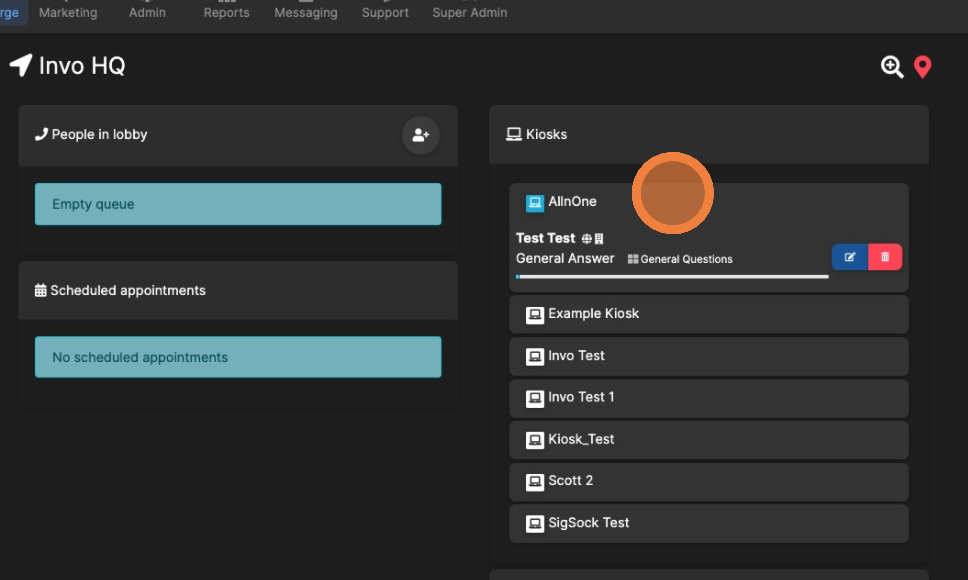
To place a client into a Kiosk, click on the Kiosk drop down and select which Kiosk you prefer.
To move the client to an In Person interaction, click on "Handle in person"
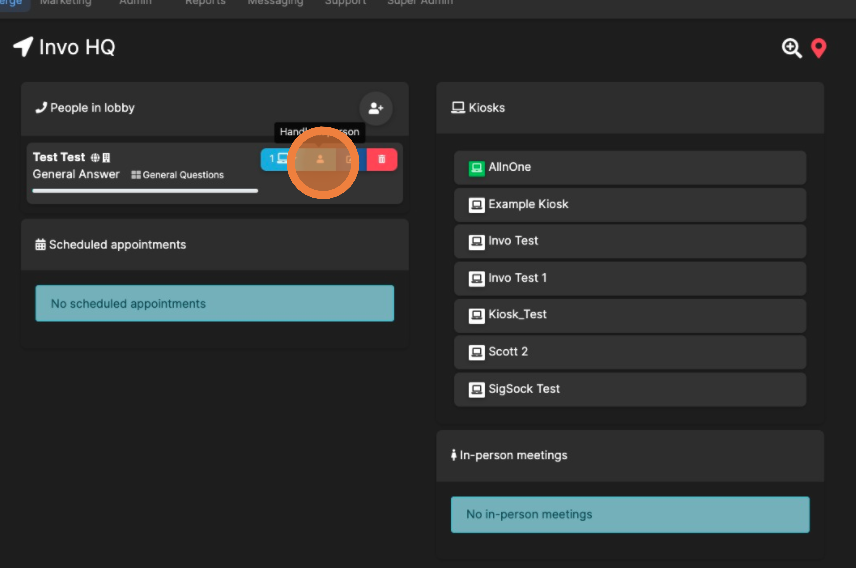
To unpin and go back back to your location list, click here